The Lament is an isolated place in Yaesha with many traps, rewards, and exciting locations to discover in this mysterious dungeon. Although I discovered it the hard way, Lament is also home to confusing puzzles, and players must thoroughly explore some areas to get the most out of it. Even though it may seem daunting to go down here, let me tell you that the rewards it holds are very much worth it.
Key Takeaways
- The Yaesha’s Faithless Thicket contains an underground chamber called The Lament.
- Remnant 2 Lament Puzzles are pretty tricky at times.
- The Forbidden Grove provides a shortcut from Kaeula’s Rest to the Faithless Thicket.
- Due to the traps in the dungeon, especially the arrow traps, caution is advised.
- When navigating the traps, players can avoid arrows by zigzagging and delaying direction changes.
- Players must locate a book in a strange tomb with distinct symbols in the dungeon.
- To record the symbols above each selected tomb, players must locate four graves with the same sign as the one in the book to solve the symbol puzzle randomly.
- A door that opens when the correct symbols are inserted into the dial leads to a mysterious pathway and a desired reward.
- To solve the symbol puzzle, players must locate four tombs with the same sign as the one in the book and actively record the symbols randomly placed above each selected grave.
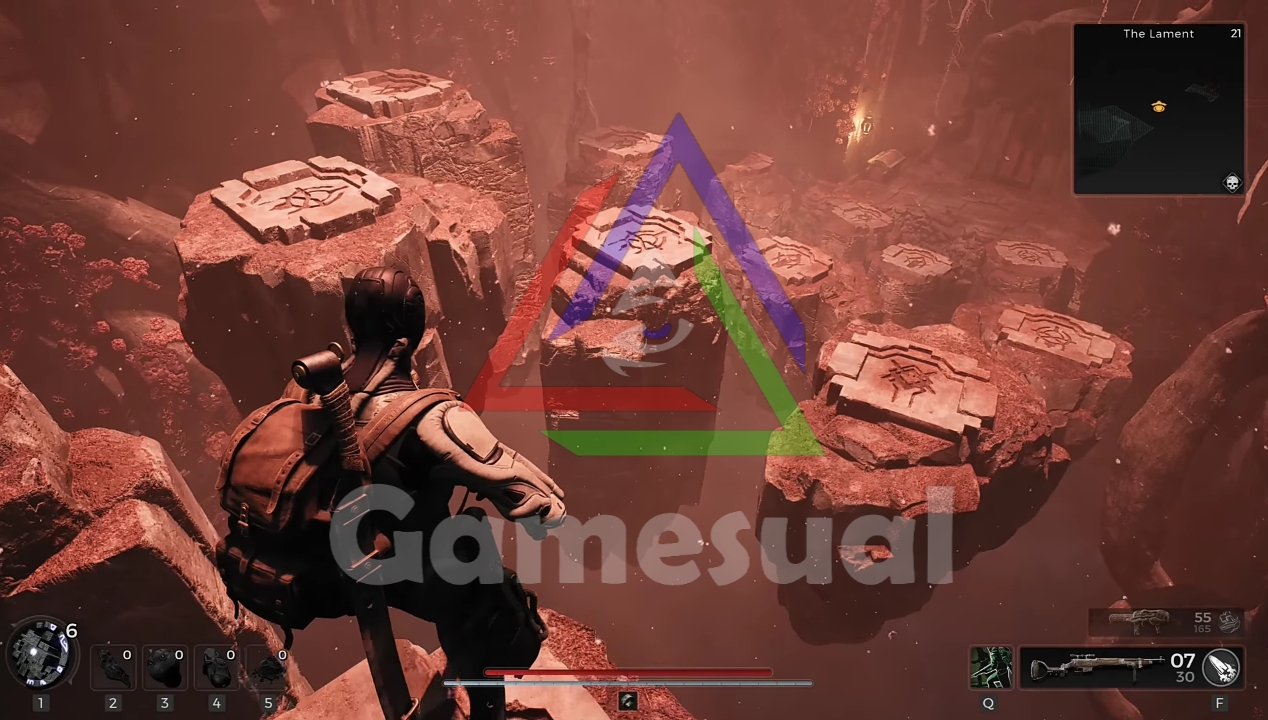
- Players must locate unseen bridges between platforms in the Floating Rocks Puzzle to use Kolket’s Key to unlock the door.
- Using the Hidden Pathway To The Boat, players can access a boat and get the Lodestone Crown, a unique helmet with illuminating qualities that collaborate with other lodestones.
The Lament Dungeon Location
- Within Yaesha’s Faithless Thicket is where the underground chamber is located.
- For those unfamiliar with the area, I took a shortcut from Kaeula’s Rest through the Forbidden Grove, which will lead them to the Faithless Thicket.
- Reach The Lament’s entrance by continuing along the forest path there. Thrilling adventures in this fascinating region await.
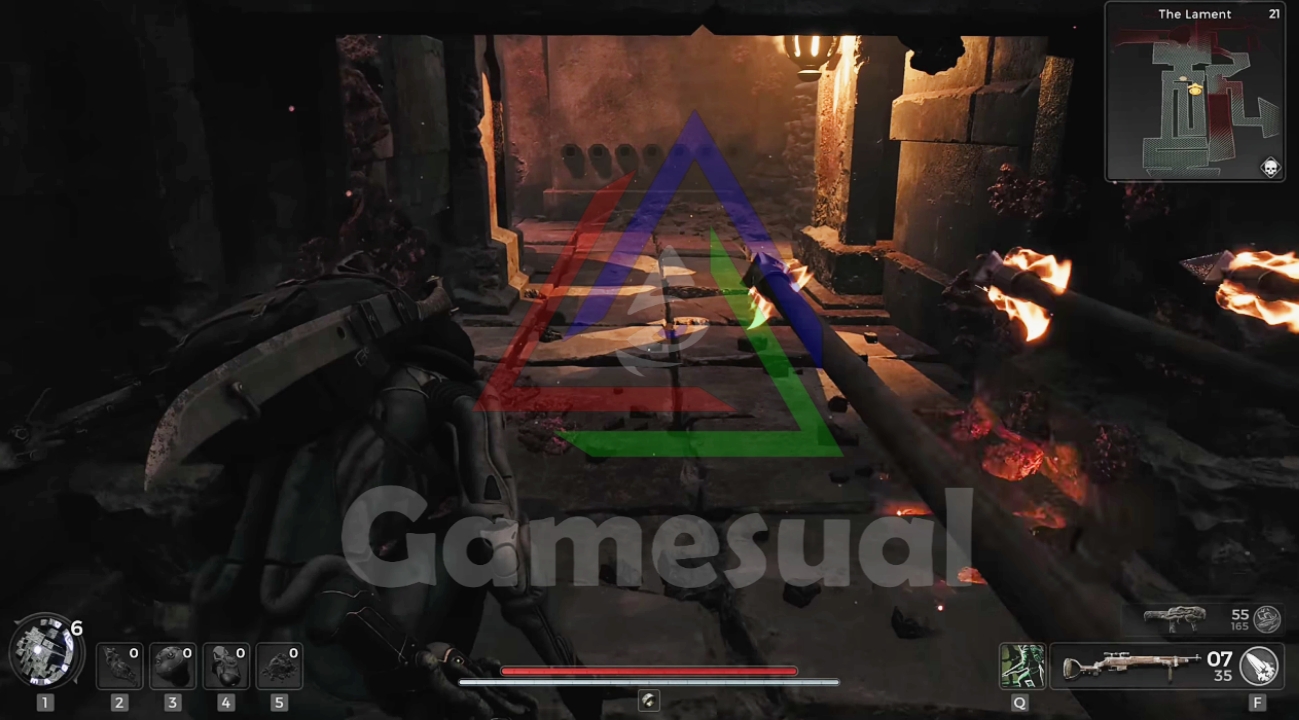
I also came across a few of the arrow traps in this area. During my time here, rolling or evading constantly worked well.
I recommend that you time your roll or do a precision dodge. Once players reach the middle of each lane, the traps switch the sequence in which they fire. You can even duck to avoid some of the traps.
At the end of the puzzle, engaging with the lever turns off all arrow traps, allowing players to wander freely through this area for the remaining portion of the adventure.
The Lament Symbols & Dial Puzzle
- You are greeted by an unsettling scene when you enter Lament. A collection of tombs covered in mysterious symbols. Each tomb contains a dead body wrapped in a gloomy blanket.
- The first step in your search for prizes is a thorough examination of the Lament, where you must attentively look for a book that appears in random areas, usually close to the puzzle area. A plinth-shaped dial in this area shows the same markings as those above the tombs.
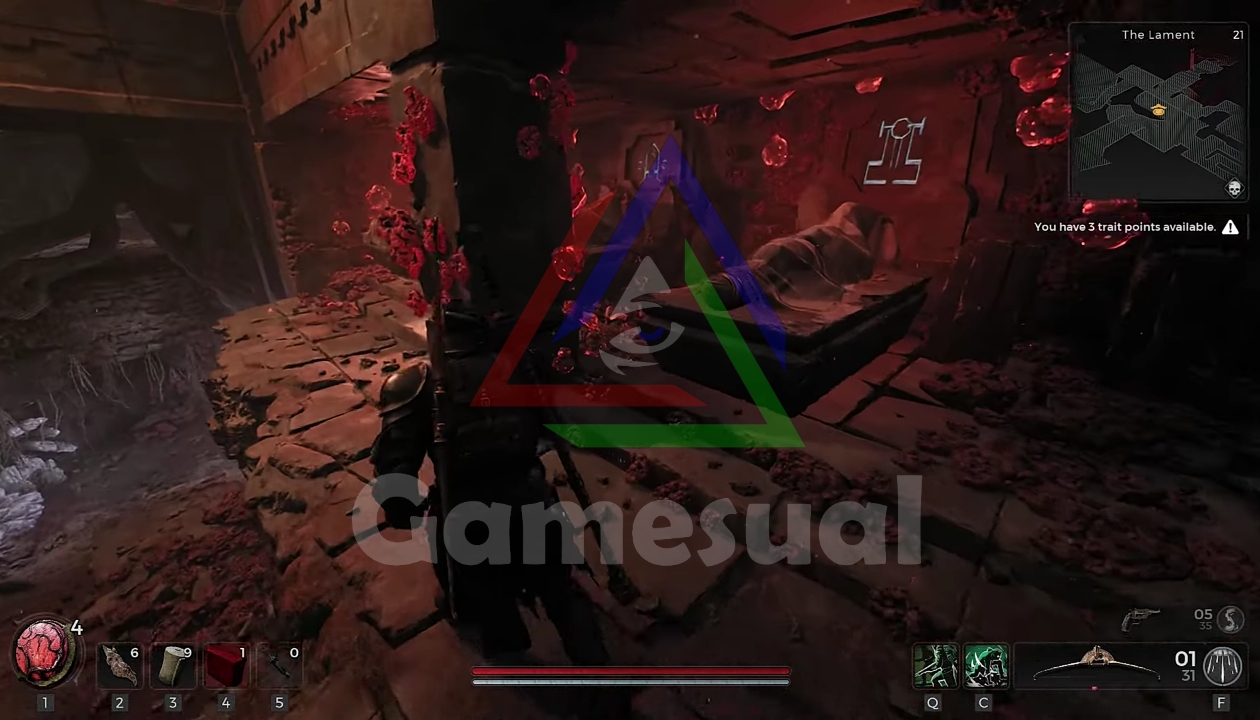
- The book is a crucial component in solving the symbol puzzle. When you open the book, you’ll see a special symbol on the first page that resembles some of the blankets worn on those tombs.
- This is where things got tricky in my playthrough. Every character and every combination of colors inside the book is entirely random. As a result, the symbol that appears in each player’s game instance might be different.
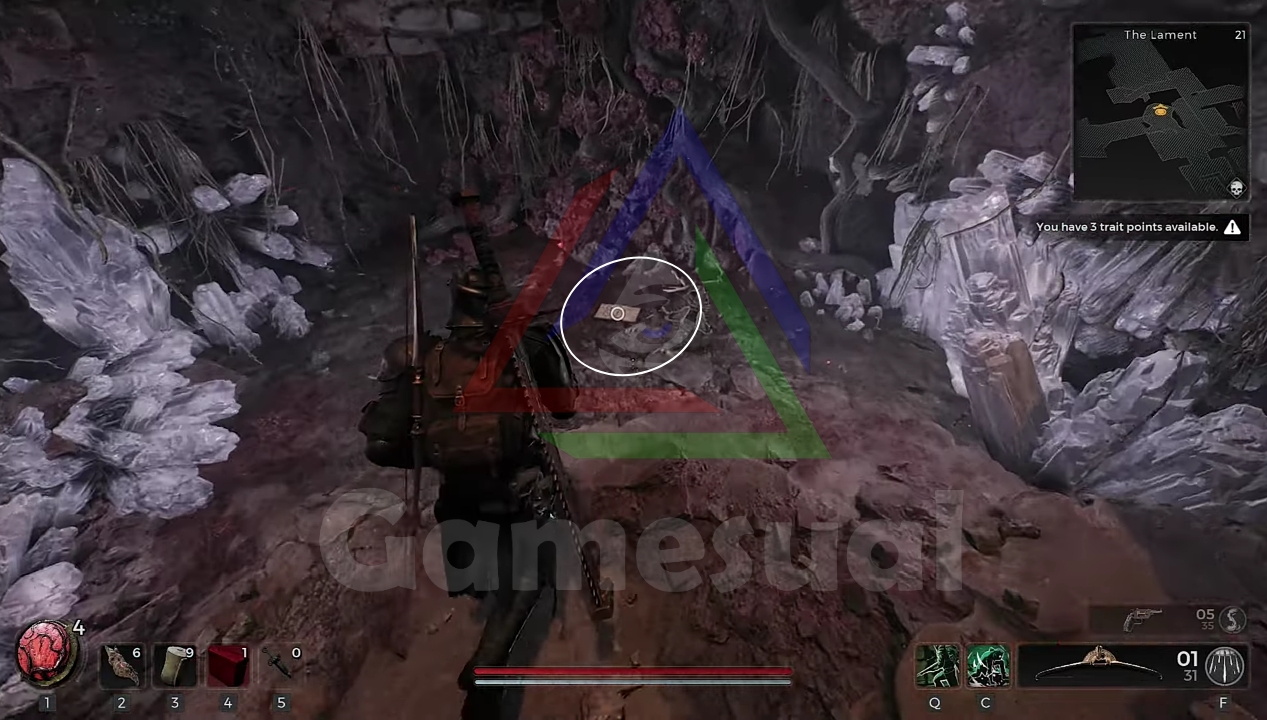
For instance, we came across the one in the picture below, but it can be a completely different symbol for you.
- The objective is to locate four tombs whose covers display the same sign as that shown in the book. Carefully record the sign displayed over each of the four chosen tombs.
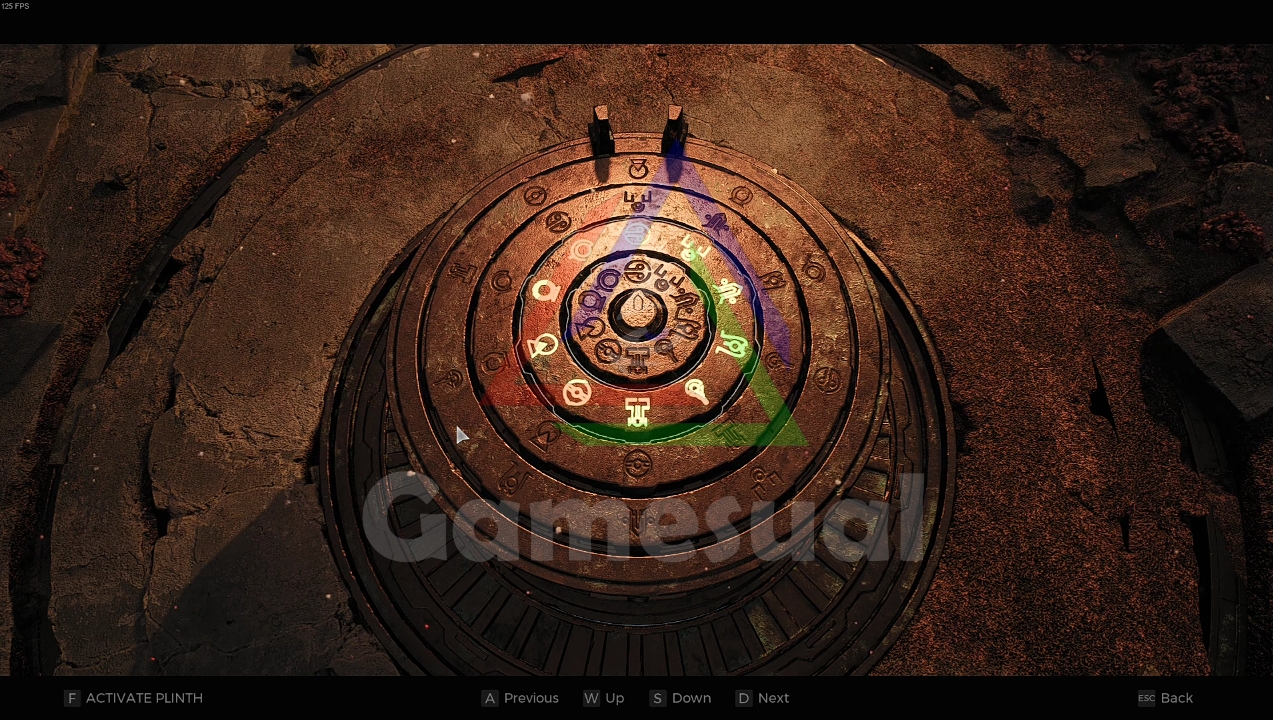
- You can return to the mysterious dial once you have the four symbols. You should add the symbols at that point on the dial. Since the order is not given particularly, you have some freedom in how you proceed.
- Once you’ve successfully inserted the symbols into the dial, try again. If you have completed this mission, the door ahead will gently slide open, revealing a mysterious passageway leading to the desired prize.
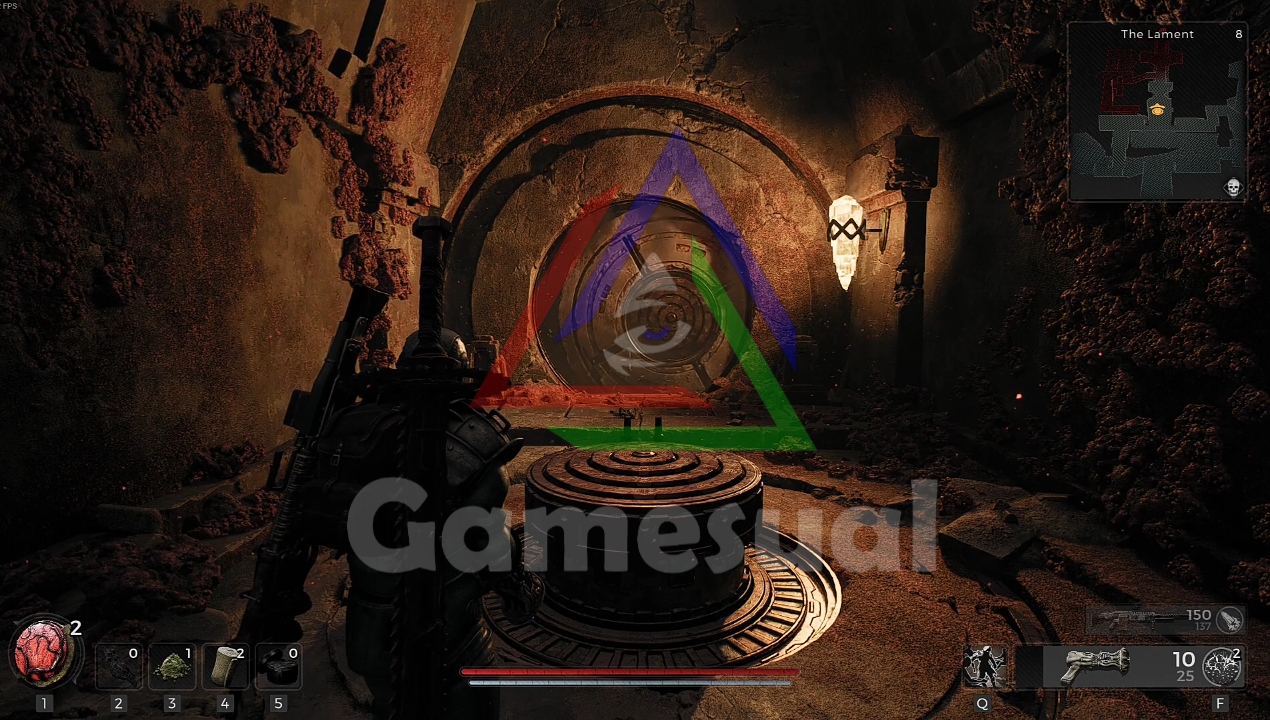
I found it incredibly exciting to complete these puzzles, but if you are tired of this brain exercise, fear not. The prizes await you right ahead. However, it’s important to remember that all those rewards are random, and players get different rewards for completing this puzzle.
This central burial room is accessible to players via a dangerous route. Once a checkpoint has been opened, the player should proceed to a section of the room where a pillar has fallen. In this location, moving through vases reveals a secret opening that descends to the floor beneath.
Players can then turn right and proceed to a tiny pool from there. They must crouch down a tunnel in the back of one of the waterfalls to get to the end and get a key to the storage area on the other side of the hall.
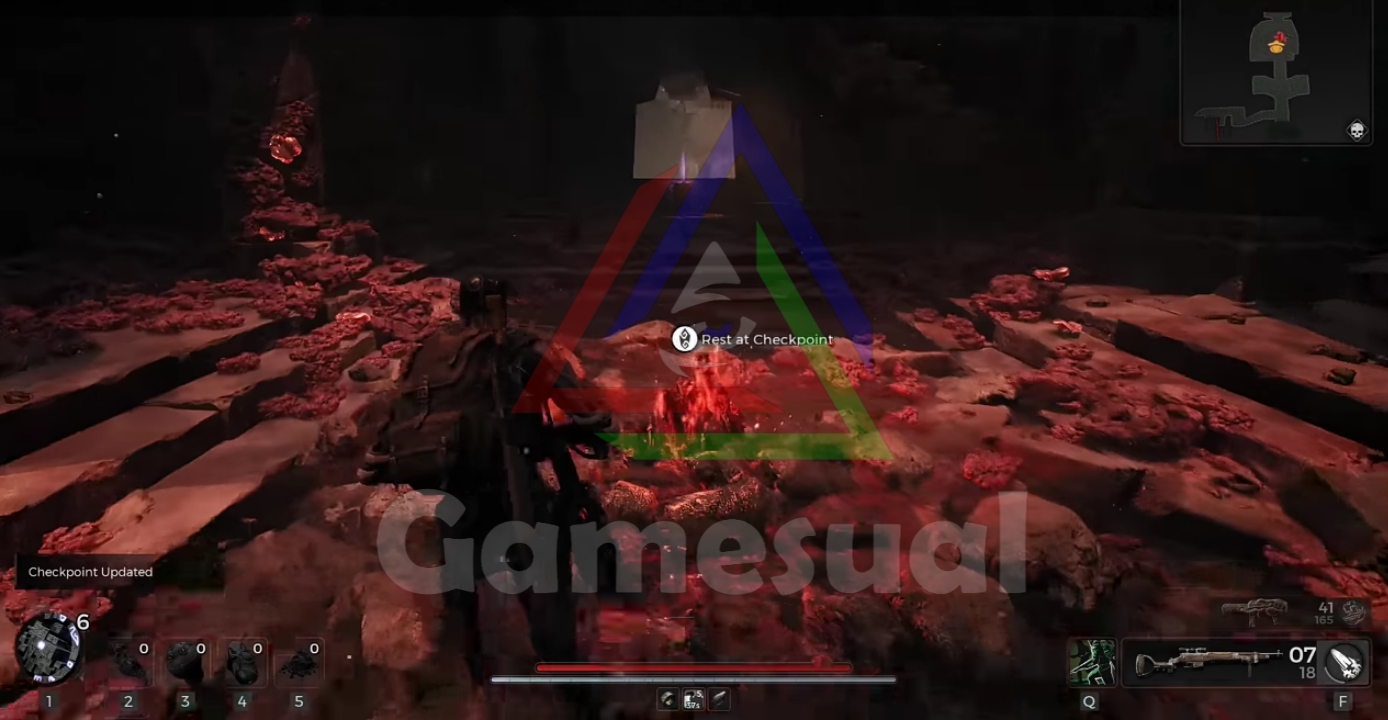
After collecting the key, you must open a route back upstairs. After that, you must use the key to unlock the room for storage and retrieve their prizes from the treasure chest inside.
Players can move on by jumping through a hole in the wall once they have obtained the treasure. Players must take care as the area conceals deadly hidden buzzsaw traps that can cause harm.
Players must quickly follow the left vertical buzzsaw as soon as it appears to explore this dangerous hall. They can safely move across the dangerous region and run to the main room. They must act fast to change lanes once the buzzsaw begins to turn around.
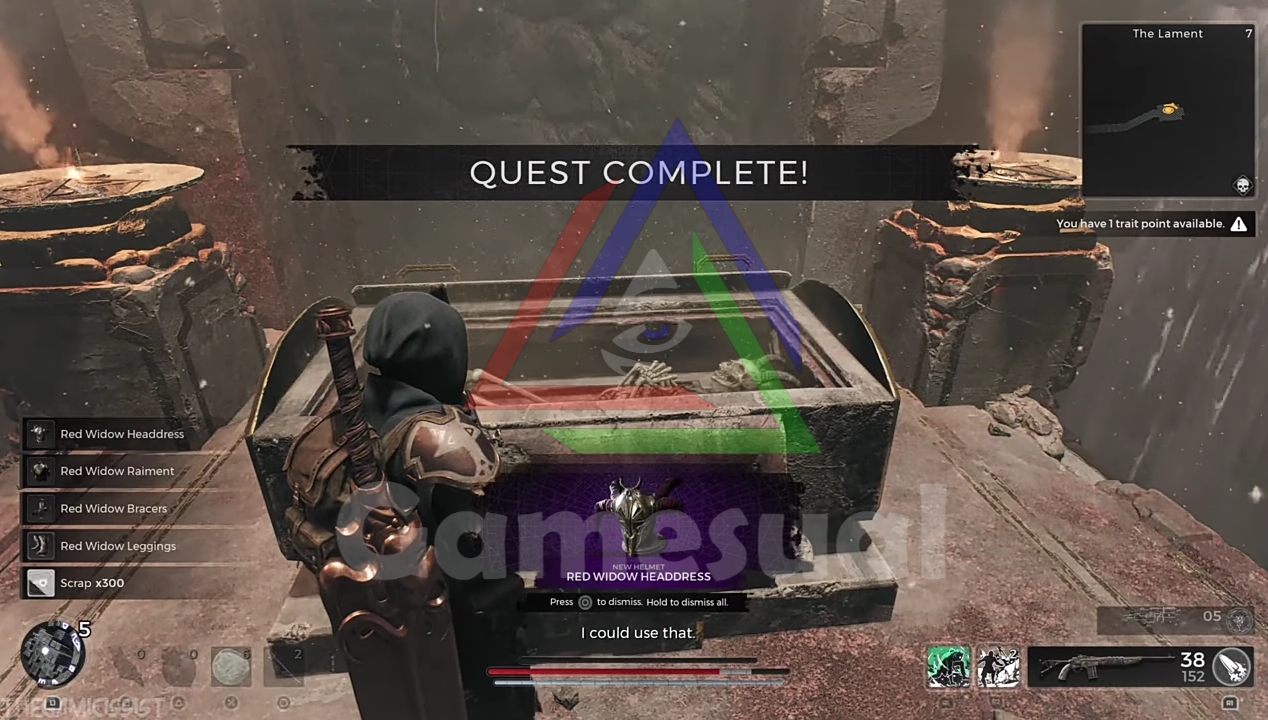
Timing is everything because I hate to remind you that you must start at the last saved checkpoint. Players can unlock the door after they reach it and take advantage of their well-deserved reward, the coveted Red Widow armor set.
Floating Rocks Puzzle
- Make sure you’ve got Kolket’s Razor before entering the dark chamber. Kolket’s Razor can be changed into Kolket’s Key by clicking on it and inspecting it.
- It can occasionally be found after completing the door riddle by opening one of the tombs in the hall. The platforms are connected by invisible bridges that the players must discover.

- I was able to shoot the gaps to see where the bridge was. If it stops the bullets, it will show where the secret bridge is, and the players can safely cross it. Still, you can try to find the path in any way you want.
- The other side will have a locked door that the players must reach after successfully navigating the invisible bridges. They must use Kolket’s Key, the unique artifact they got from Kolket’s Razor, to unlock it and move on.
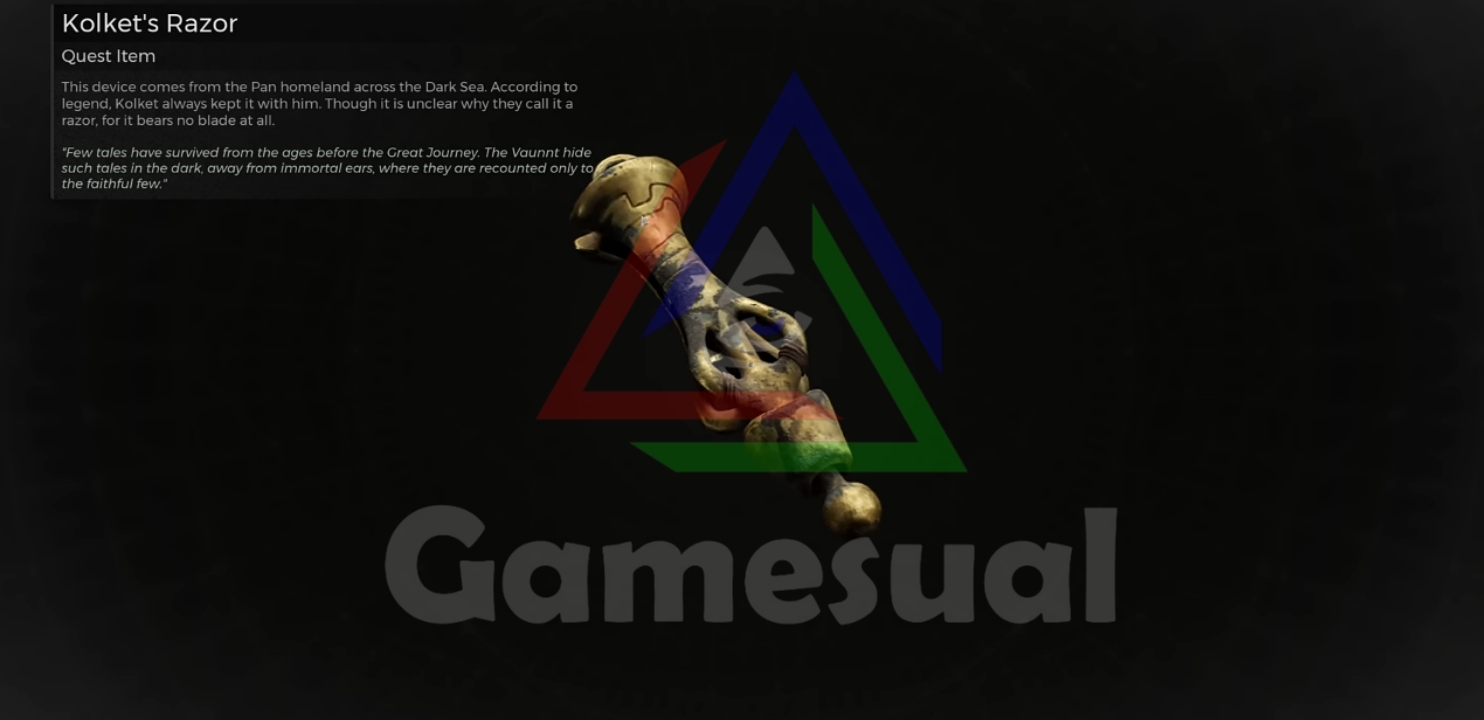
A word of advice: Any chest can contain a foe that drops Kolket’s Razor. For us, it emerged from the trunk, immediately following the arrow maze.
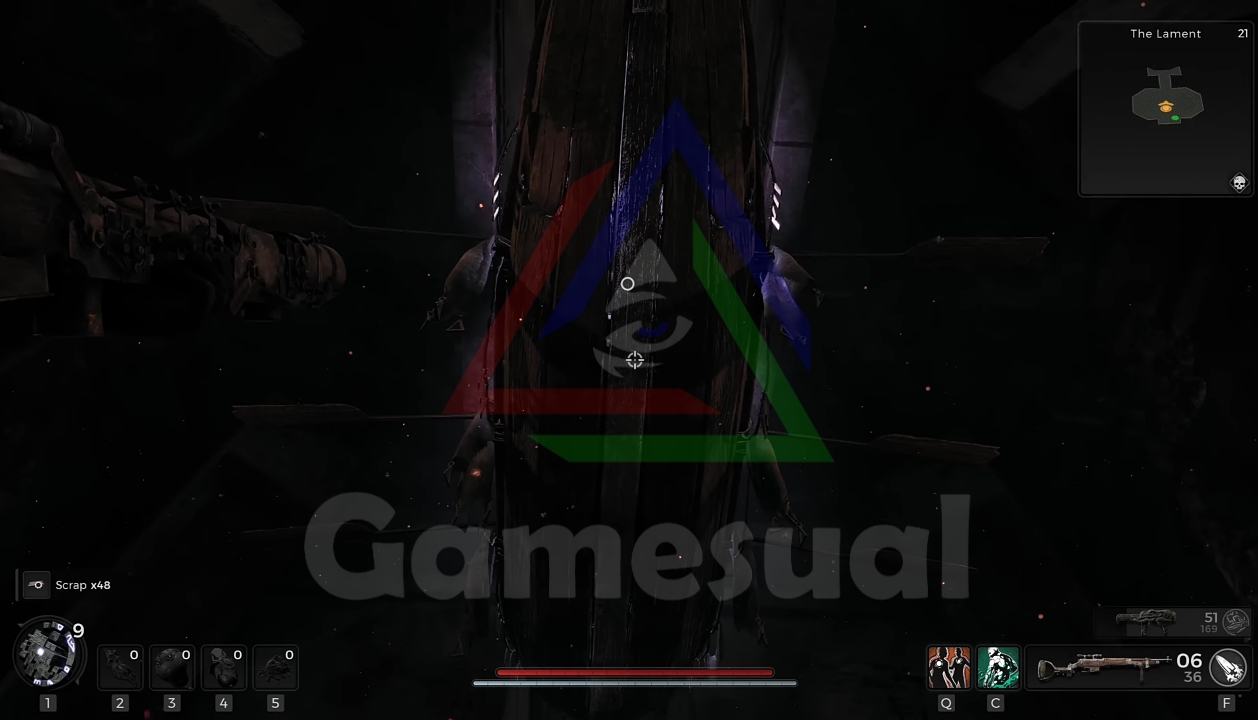
Beyond the platform area is a room with a boat that is often out of reach. However, by traveling through the artificial wall in the image, players can get around this restriction and gain access to the boat and the prized Lodestone Crown.
This outstanding helmet is a head-mounted illumination that lights the path in the dark. The item description also hints at its unique attribute.
My Experience With Puzzles
My time inside the Lament Dungeon proved to be quite successful and enjoyable. In my opinion, all of the puzzles in this dungeon are somewhat challenging, but this adds to the satisfaction of getting your reward. The mysteries served as a fresh breath of air after hours of combat.
Good job! Please give your positive feedback ☺️
How could we improve this post? Please Help us. 🤔
A gamer through and through, I’ve spent countless hours honing my skills in competitive FPS games like Counter-Strike and Valorant. When I’m not immersed in the high-stakes world of multiplayer shooters, I find solace in the mesmerizing narratives of games like The Last of Us and the Batman Arkham series.
But here’s an interesting twist – I’m not just a gaming enthusiast; I’m also an avid movie buff. Feel free to join me on Steam: Z3US
Riot: Z3US #1740

